Vercel教程:免费部署你的网站项目
1. 项目预览
本期课程我们会带着大家用这样一个项目跑通Vercel的部署。Vercel部署项目非常简单, 基本就是没有任何门槛。
在在我们之前的多个项目部署中,也有涉及到如何使用Vercel部署的基本流程,但是这是一期专题项目,除了跑通Vercel的部署流程之外,我们还会讲到:

2. 初始化项目
2.1 下载项目
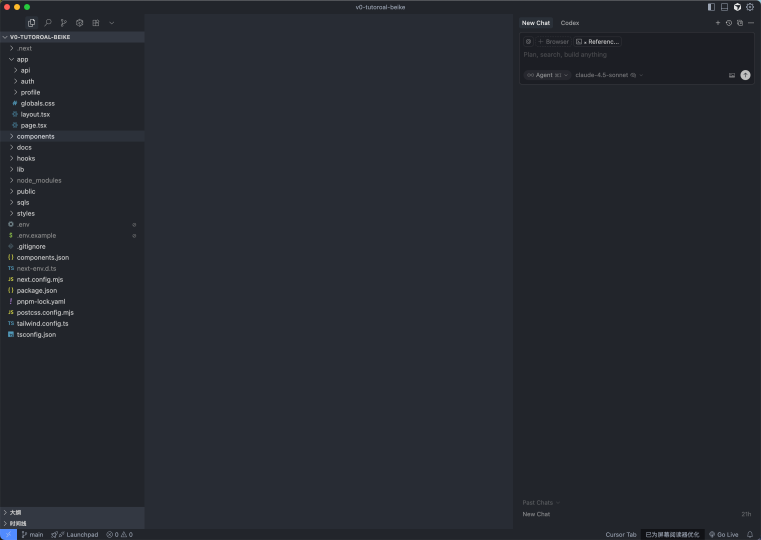
• 下载我们为本项目准备的课程源代码,用Cursor打开:
• 复制项目根目录的 .env.example,修改成 .env
.env:
NEXT_PUBLIC_SUPABASE_URL=your-supabase-project-urlNEXT_PUBLIC_SUPABASE_ANON_KEY=public-anon-keySUPABASE_SERVICE_ROLE_KEY=service-role-key• 输入以下命令,安装项目依赖:
pnpm install2.2 初始化supabase
首先创建一个新的supabase项目,点击进入【SQL Editor】 当中。
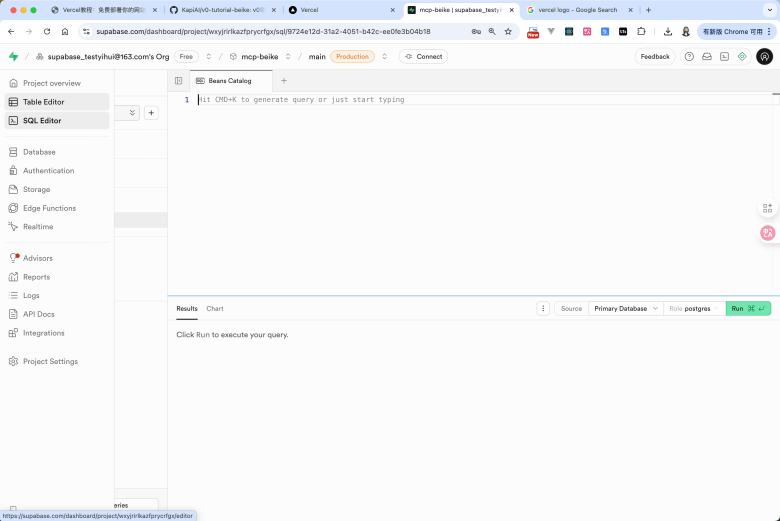
• 输入以下SQL,创建数据表
-- Enable UUID generation utilitiescreate extension if not exists "pgcrypto";
-- Pricing plans master datacreate table if not exists pricing_plans (  id uuid primary key default gen_random_uuid(),  slug text not null unique,  name text not null,  description text,  monthly_price numeric(10,2) not null,  annual_price numeric(10,2) not null,  currency_code text not null default 'USD',  features text[] not null default '{}'::text[],  feature_heading text not null default 'Get started today:',  cta_label text not null,  cta_href text,  highlight boolean not null default false,  badge_label text,  button_tone text not null default 'neutral',  sort_order integer not null default 0,  created_at timestamptz not null default now(),  updated_at timestamptz not null default now());
create index if not exists pricing_plans_sort_order_idx on pricing_plans(sort_order);
create or replace function pricing_plans_set_updated_at()returns trigger as $$begin  new.updated_at = now();  return new;end;$$ language plpgsql;
drop trigger if exists pricing_plans_set_updated_at on pricing_plans;create trigger pricing_plans_set_updated_atbefore update on pricing_plansfor each rowexecute function pricing_plans_set_updated_at();
• 执行成功后,再输入以下SQL,给表初始化数据:
insert into pricing_plans ( slug, name, description, monthly_price, annual_price, currency_code, features, feature_heading, cta_label, cta_href, highlight, badge_label, button_tone, sort_order) values ( 'free', 'Free', 'Perfect for individuals starting their journey.', 0, 0, 'USD', ARRAY[ 'Real-time code suggestions', 'Basic integration logos', 'Single MCP server connection', 'Up to 2 AI coding agents', 'Vercel deployments with Pointer branding' ]::text[], 'Get started today:', 'Get Started', '/auth?view=signup', false, null, 'neutral', 1 ), ( 'pro', 'Pro', 'Ideal for professionals.', 20, 16, 'USD', ARRAY[ 'Enhanced real-time previews', 'Unlimited integrations with custom logos', 'Multiple MCP server connections', 'Up to 10 concurrent AI coding agents', 'Collaborative coding with team chat', 'Advanced version control integrations', 'Priority email and chat support' ]::text[], 'Everything in Free +', 'Join now', '/auth?view=signup', true, 'Popular', 'inverted', 2 ), ( 'ultra', 'Ultra', 'Tailored solutions for teams.', 200, 160, 'USD', ARRAY[ 'Dedicated account support', 'Unlimited MCP server clusters', 'Unlimited AI coding agents', 'Enterprise-grade security and compliance', 'Priority deployments and SLA guarantees' ]::text[], 'Everything in Pro +', 'Talk to Sales', 'mailto:sales@example.com', false, null, 'secondary', 3 )on conflict (slug) do update set name = excluded.name, description = excluded.description, monthly_price = excluded.monthly_price, annual_price = excluded.annual_price, currency_code = excluded.currency_code, features = excluded.features, feature_heading = excluded.feature_heading, cta_label = excluded.cta_label, cta_href = excluded.cta_href, highlight = excluded.highlight, badge_label = excluded.badge_label, button_tone = excluded.button_tone, sort_order = excluded.sort_order, updated_at = now();2.3 运行项目
复制supabase的环境变量,添加到 .env 中
NEXT_PUBLIC_SUPABASE_URL=your-supabase-project-urlNEXT_PUBLIC_SUPABASE_ANON_KEY=public-anon-keySUPABASE_SERVICE_ROLE_KEY=service-role-key然后回到Cursor中,在终端中输入一下命令,运行起来项目
终端:
pnpm run dev
目前你的项目就成功的运行起来了。
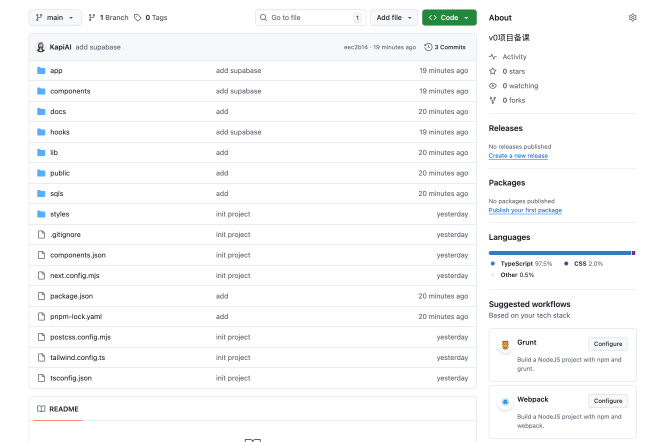
2.4 提交到Github
• 在Cursor的git管理中,完成以下步骤
。初始化git仓库
。提交项目,输入提交的内容: init project (提交内容可以自选)
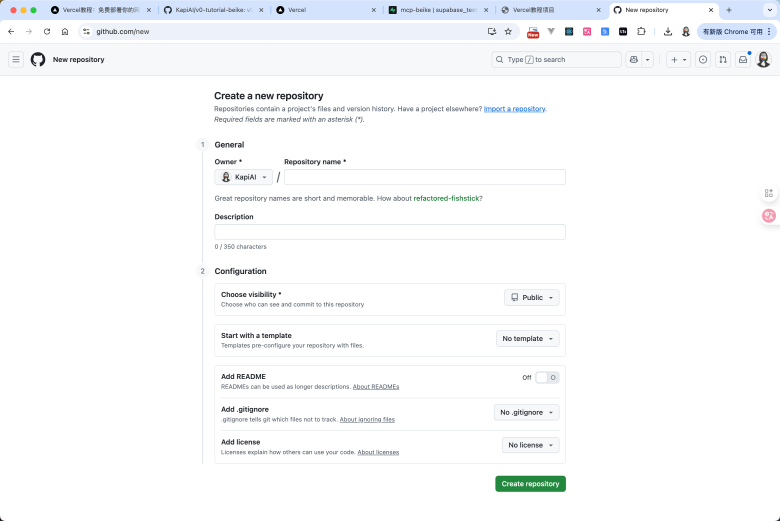
• 然后接下来到你的Github中,创建对应的远程仓库。
• 复制这一行语句,粘贴到你的Cursor的终端中
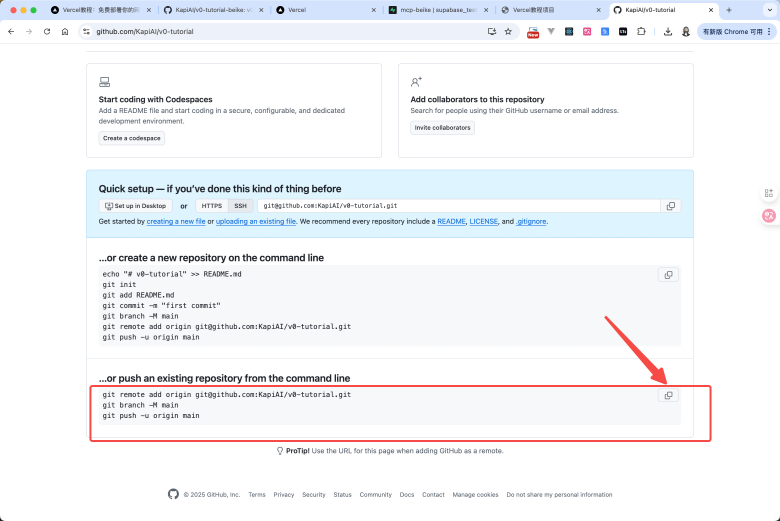
• 部署成功后,刷新Github的该页面,你就能看到代码提交上去了。
3. 部署到Vercel
3.1 部署项目到Vercel
- 本地构建
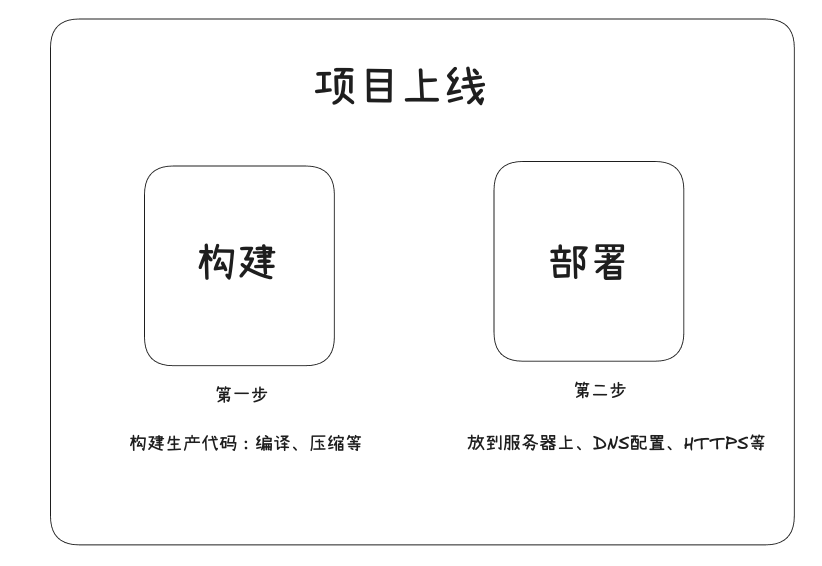
首先需要说明,所有的项目部署上线,其实是分为两步的:
1. 构建:构建生成代码,主要有代码编译过程、压缩等
2. 部署:把代码放到服务器上,我进行DNS配置、HTTTPS配置等。
如果你的项目是第一次构建,我这边非常建议你首先在本地构建一遍,这样能早一些发现问题。避免在Vercel构建过程中,如果发现了问题,你还需要进行修改再次部署,浪费时间。
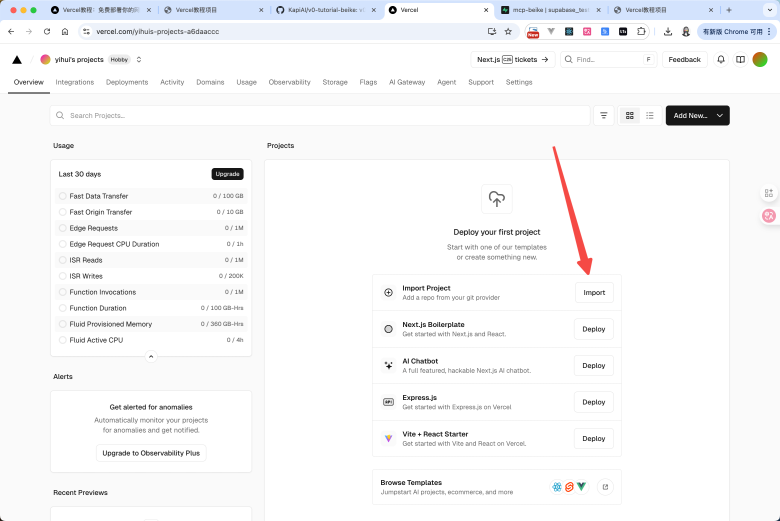
2. 导入项目
• 点击【Import Proiect】, 导入项目
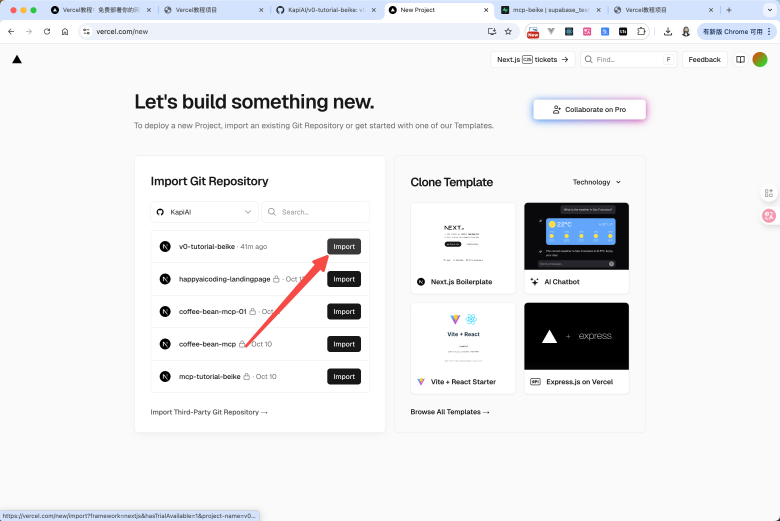
• 选择你的Github仓库
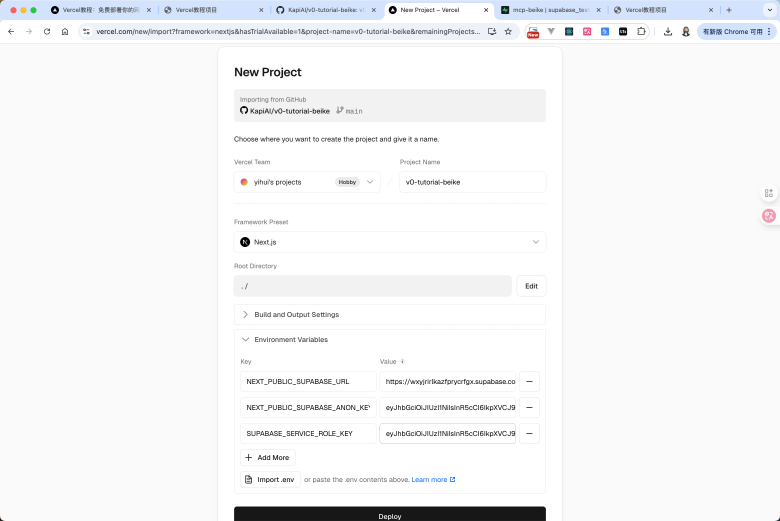
• 填写项目的必要信息,以及对应的环境变量(重要!!),然后点击【Deploy】
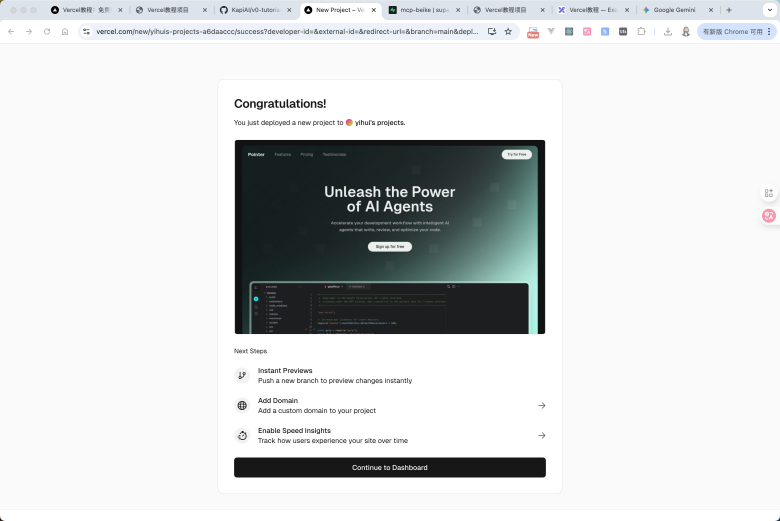
•稍等片刻后,看到这个页面,你的项目就部署成功了。可以直接点击预览图,访问项目
3. 部署成功
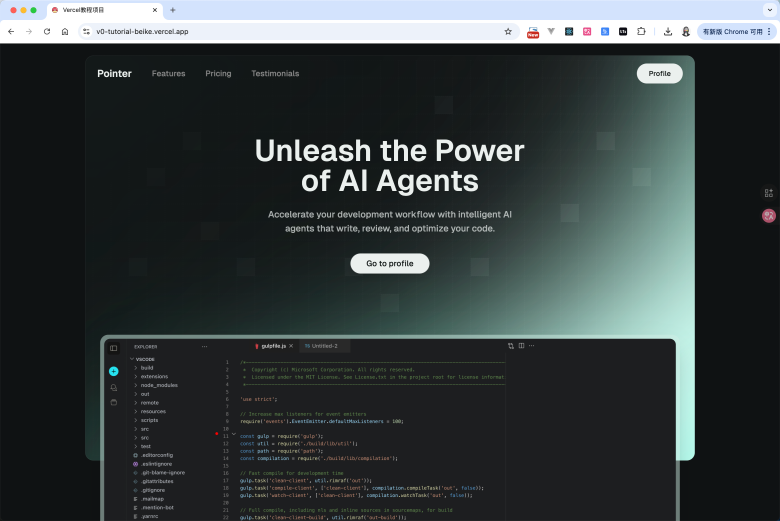
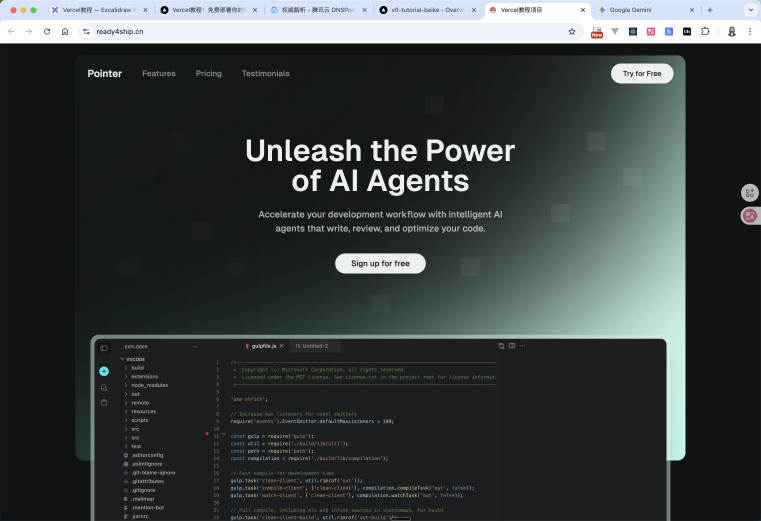
点击后直接查看该域名。就能看到项目很顺利的部署成功了~
3.2 Vercel到底做了什么?
1. 传统部署 vs Vercel部署
也许你不清楚Vercel到底做了什么,似乎觉得直接把代码权限给了它之后,它就给你一个可以预览的网站链接这件事情是理所当然的。
但是Vercel做了很多事情,可以通过下面的一张图做对比:
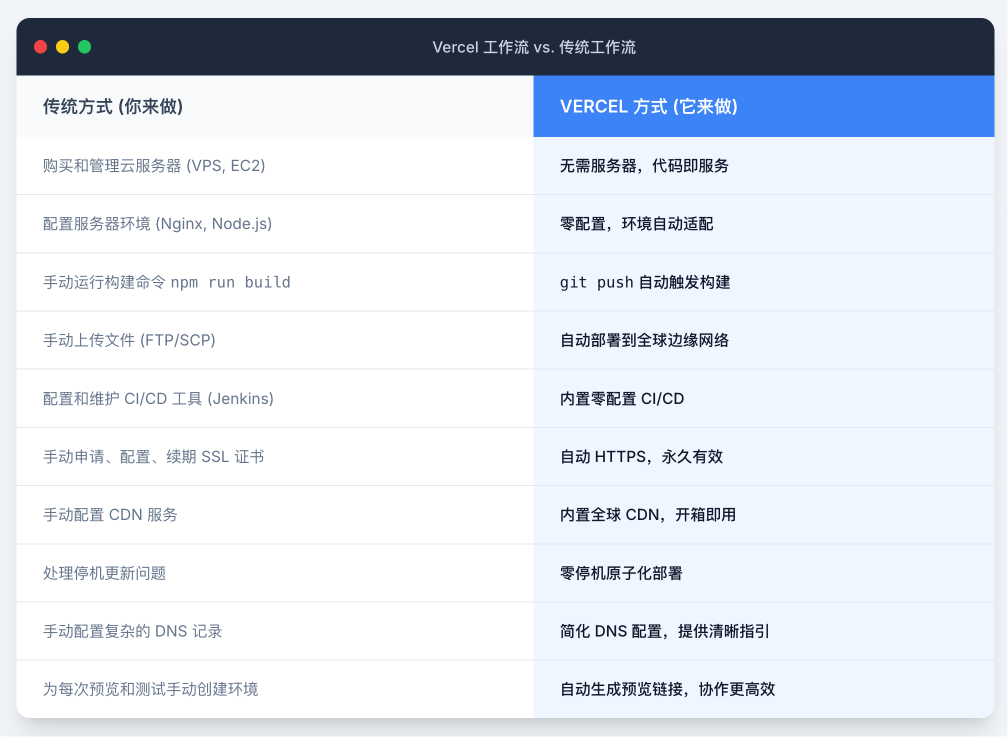
也许很多你不理解没有关系,其实这里面的大多项,都是像阿里云、亚马逊云这些服务商的一个产品功能。你需要自己去配置并实现。
这种传统的的部署方式,即使在2025年,在很多的小公司或者个人,也依然是这么操作的。可能只是一部分实现了自动化而已。然后Vercel,帮你把这个流程完全自动化了。
如果你想认真学习Vecel,可以查看Vercel的文档:
2. 定价
这里面有过两个概念非常重要:边缘请求、
边缘请求(Edge Requests)
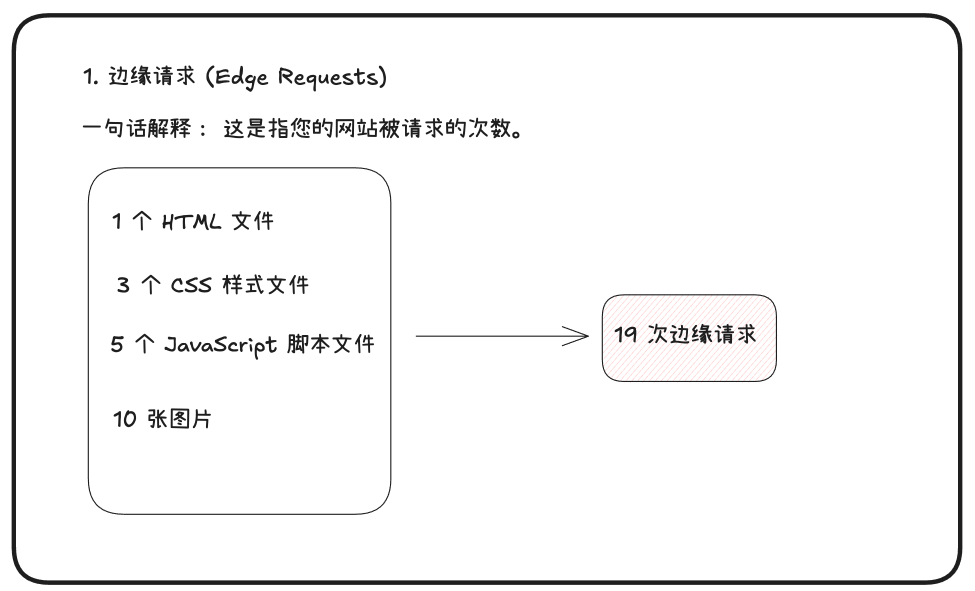
• 一句话解释:这是指您的网站被请求的次数。
• 详细说明:每当用户的浏览器需要从 Vercel 的服务器上加载一个文件时,就算作一次“边缘请求”。这不仅仅是用户访问一个页面算一次。一个网页通常由很多个文件组成,比如:
。1个 HTML 文件
。3个 CSS 样式文件
。5个 JavaScript 脚本文件
。10张图片
•举个例子:如果一个用户加载了上面这个网页,总共就会产生 1+3+5+10= 19 次边缘请求。如果100个用户访问了这个页面(并且没有本地缓存),就会产生大约1900次请求。
•总结:这个指标衡量的是您的网站内容的受欢迎程度和被访问的频率,是按次数计算的。
快速数据传输(Fast Data Transfer)
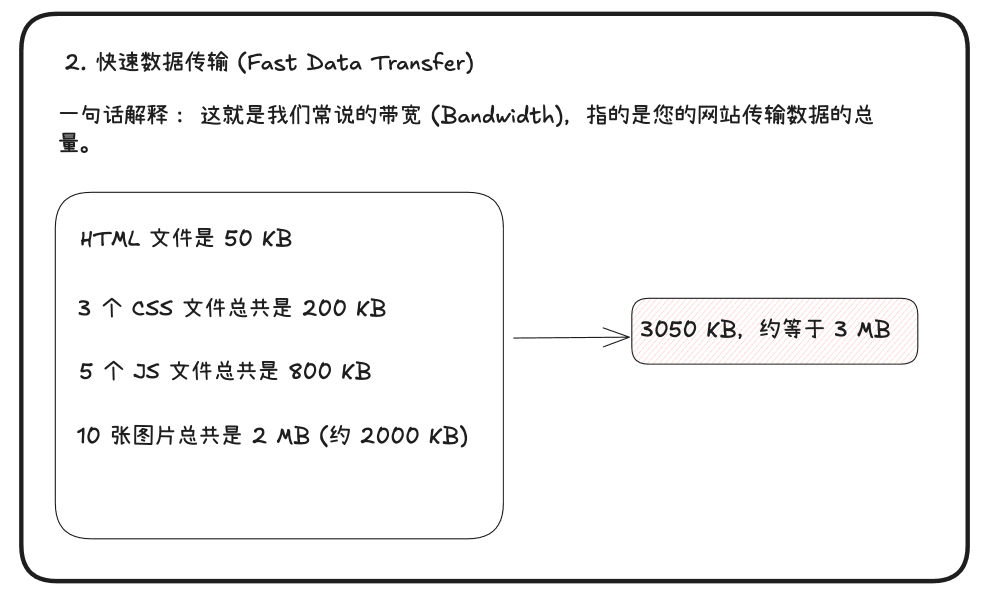
•一句话解释:这就是我们常说的带宽(Bandwidth),指的是您的网站传输数据的总量
• 详细说明:这个指标衡量的是从 Vercel服务器发送到用户浏览器的所有文件的总大小。每个文件,无论是 HTML、CSS、图片还是 API 响应,都有自己的体积(以 KB、MB或GB 为单位)。
•举个例子:继续上面的例子,假设:
。HTML 文件是 50 KB
。3个 CSS 文件总共是 200 KB
。5个JS 文件总共是 800 KB
。10 张图片总共是2 MB(約2000KB)
。 一个用户完整加载该页面所产生的数据传输量就是 50 + 200 + 800 + 2000 = 3050 KB,约等于3MB。
。如果100个用户访问了这个页面,总的数据传输量就是 100 * 3 MB = 300 MB .
•总结:这个指标衡量的是您的网站内容的体积和总消耗流量,是按数据大小(GB)计算的。
4. 自定义域名
4.1 购买域名
Vercel默认部署的域名是 xxx.vercel.app。这个域名Vercel自己官方的域名。我们一般不会把这个域名直接当做网站,直接提供给用户。更多的只是作为早期自己测试和预览的一个方式。
如果你想配置自己的域名,需要自己首先拥有一个域名。Vercel官方也提供了域名购买服务。当然其实域名购买有非常非常多的渠道,同一个域名不同渠道的价格可能不一致, 你可以尝试不同的渠道购买,例如:
海外:
• GoDaddy
国内:
• 阿里云
• 腾讯云
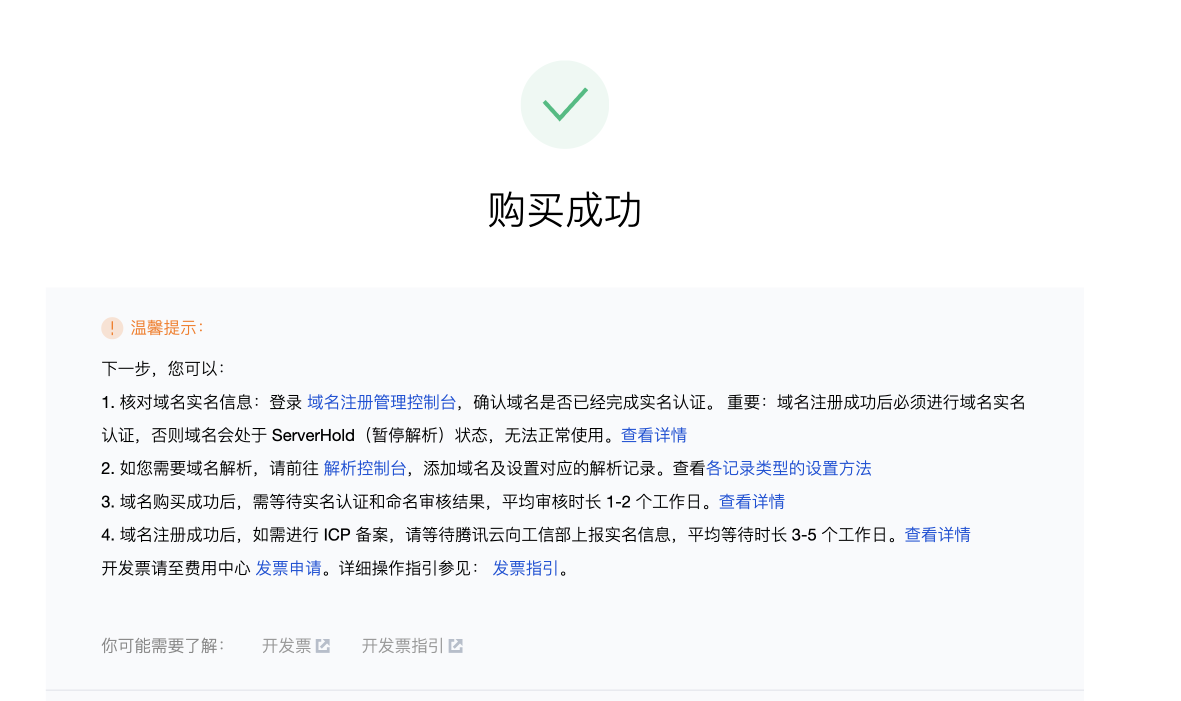
国内的域名服务商购买成功后,还有一些额外步骤,比如需要实名认证之类的才能使用。
如果是部署在国内的服务器上,还需要实现ICP备案。但是如果你不考虑国内的稳定访问,部署在海外、香港或者Vercel上的话。就不需要进行ICP备案
4.2 配置域名
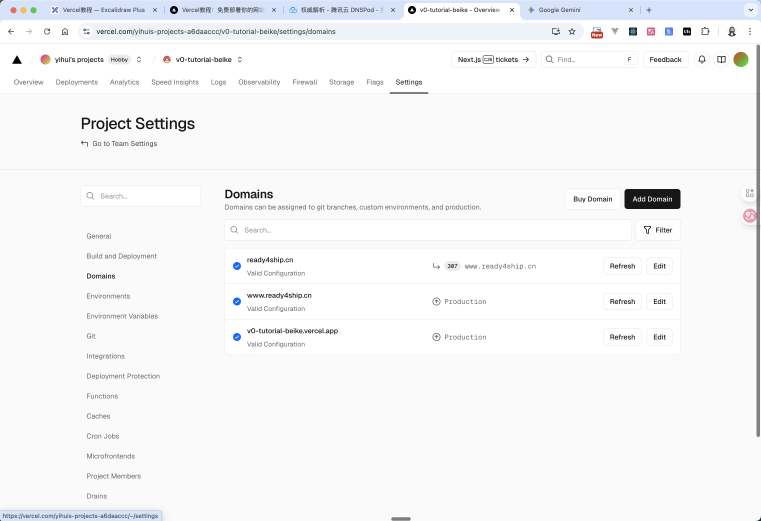
接下来你需要去到Vercel里面,点击【添加域名】,添加一个属于你的域名。
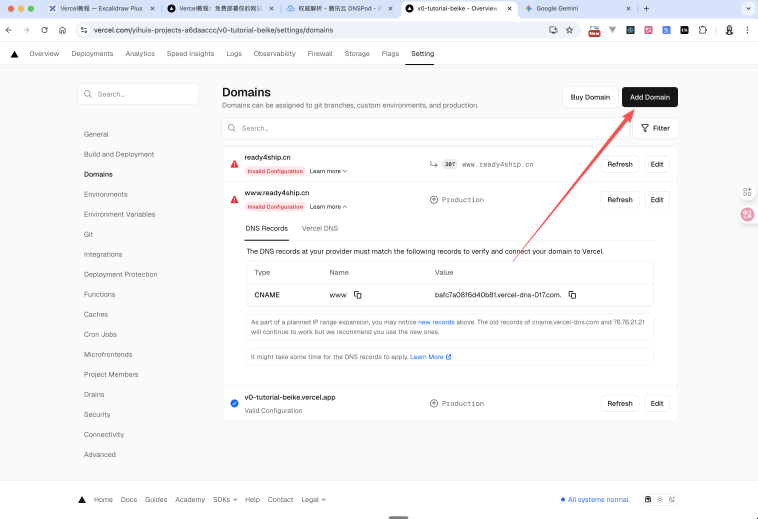
注意添加成功后,不代表这个域名就可以使用了。你还需要去到你的DNS服务商进行配置。不同服务商可能UI交互有点细微的差异,但是基本都是一样的,你一看就懂。
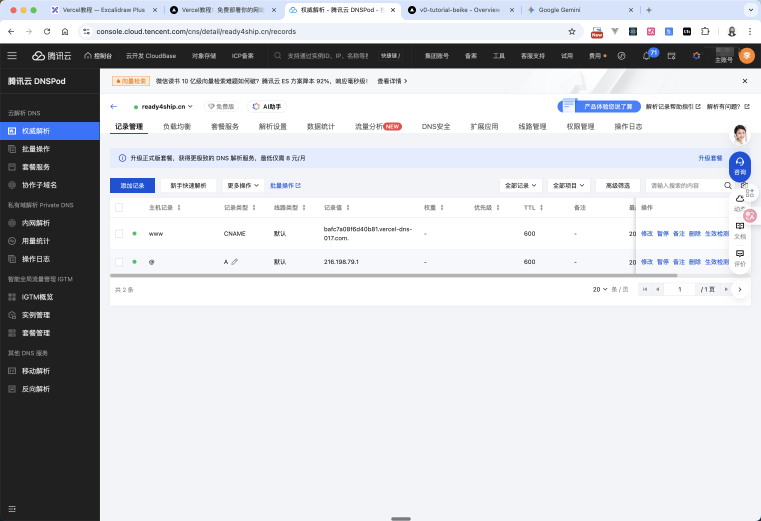
这半我们以腾讯云DNS配置为例,将刚才Vercel给到我们需要配置的内容,实现配置。
回到页面,刷新一下。如果状态变了,那么就说明配置成功了
访问网站,你就会发现网站顺利的访问成功了。
项目源码
1. 初始源码
2. 最终源码